

By Jim Hingst
This story is a version of an article which appears in Sign Builder Illustrated magazine.
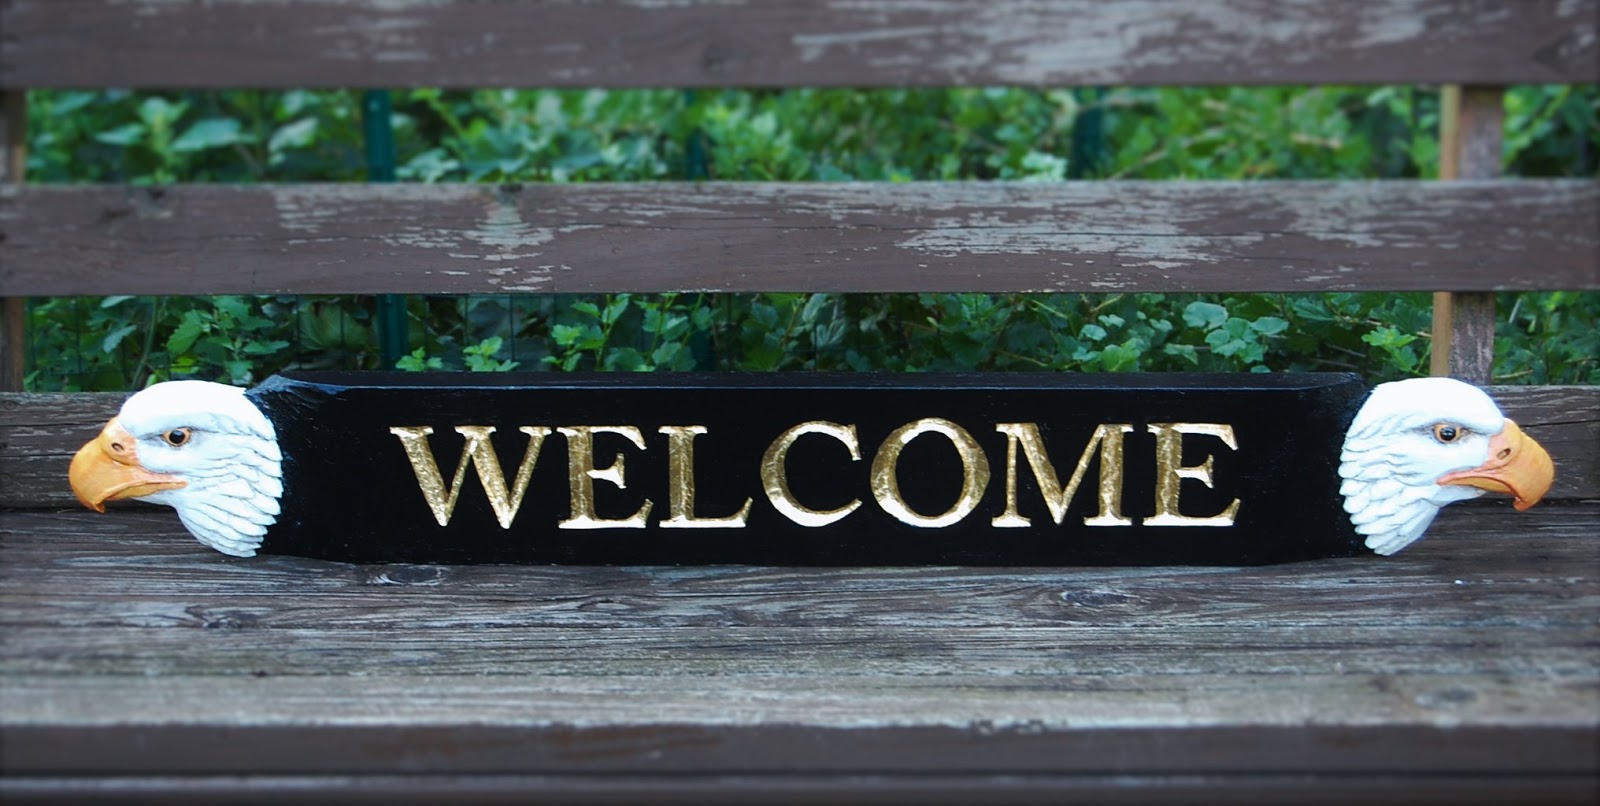
Cape Cod signs, which are modeled after the quarterboards of sailing ships bearing the name of the vessel, traditionally incorporate a maritime design element carved on either end of the sign. Used as nameplates for homes and businesses, New England sign designs have often include seashells, anchors, seahorses, whales, lobsters and fish. Somehow these seaside motifs seem out of place in the Midwest. For this reason, I decided to carve something more appropriate for a “land lubber”.
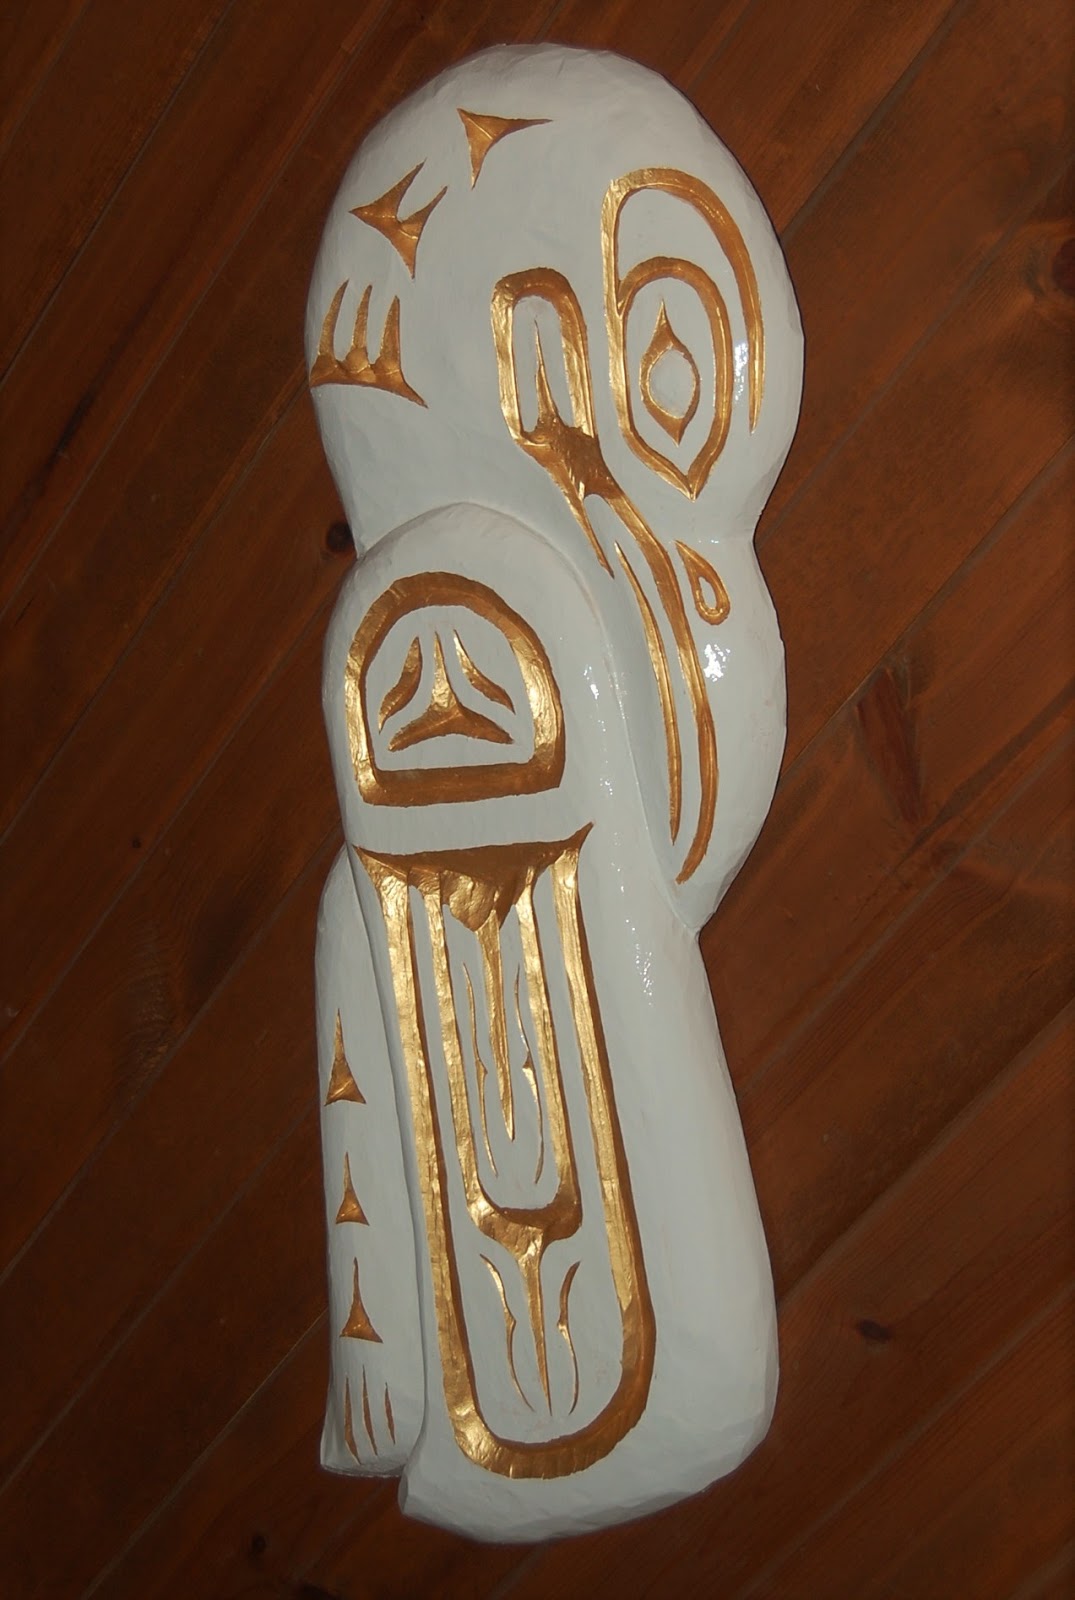
Instead of seashells, which I
have carved before, I decided to carve the heads of eagles. While the designs
differ, the process is the same no matter what type of layout that you decide
on.
 |
| Seashells or other maritime motifs are typically carved on the ends of the traditional Cape Cod sign. |
The first step is to do a
sketch. I looked at many drawings, photographs of eagles and pictures of
carvings that others had done. After finding one picture that I liked I started
drawing at full scale.
After making a few changes to
my original design, I transferred the drawing to the sign board, which is an 1-1/2
“ x 6” x 48” Western Red Cedar plank. The primary reason that I selected cedar was
that that’s what I had. Typically, ¾” pine boards are used for this type of
signage.
Since cedar is a dark wood, I
applied RTape yellow paint mask to the surface of the wood. That way when I
transferred the layout I could more easily see the design. There are a few ways
to transfer the drawing. You could pounce a pattern. That’s the way that the
old timers did it. Using a tool called a pounce wheel, they would puncture the
paper with tiny holes. After sanding the backside of the paper with 100-grit
sandpaper to abrade away the nibs of paper (similar hanging chads), chalk dust
is rubbed over the holes. What remains on the sign board is an outline of chalk
marks.
The simpler way is to use
Saral paper. It’s like carbon paper. All you do is to trace the design. You
will notice in the picture below that the original pattern on the right side
was flipped on the opposite (left) side.

The best way to remove the
excess wood around the image is to use a bandsaw, if you have one. Cedar is a
soft wood, so you could also use a coping saw.
Another way is to use a RotoZip spiral saw. The cutting blade looks like
a drill bit. In my opinion, this
versatile power tool is easier to use when you are cutting an intricate design.
A useful feature of the RotoZip
is that you can set the depth of the cut, so you can cut away parts of a
carving as you would use a router. What’s more, is that the cutting bit remains
perfectly perpendicular if you keep the base of the tool flush with the surface
of the board. Unlike cutting with a saber saw (also called a jigsaw), there is
no worry that the bit will deflect when the tool is in use. You can even do
plunge cuts with the RotoZip.
(NOTE: If you are using a
jigsaw and the blade deflects, you can compensate by
making a rough cut a little larger than needed. Then clean up the rough cut
with a router so the cut is square. The other option is to buy a better model
of jigsaw with a substantial set of blade guides. Even then, buying more
expensive equipment is no guarantee that you will not encounter blade
deflection problems.) Below is a picture of the design cut out.

SAFETY NOTE: Whenever you are
cutting, grinding or sanding any wood, wear a dust mask or respirator and any appropriate
personal safety equipment. The dust of some woods is toxic. Breathing wood dust
can result in long term health problems, such as damage to your lungs, nervous
system effects, kidney problems and allergic reactions.
After cutting away the excess
wood around the head of the eagle, you generally will use a V-parting tool to
carve through the paint mask following the outline of the design. Carving a
soft brittle wood, such as cedar, redwood or butternut can be difficult because
these woods are prone to tear out. For this reason, I often will use a
razor-sharp chip carving knife to do the outlining. Both tools are shown in the picture below.

Next, you should remove much
of the wood around the back of the eagle’s head to a depth of ¼” to ¾”,
depending on the thickness of the plank, as shown in the picture below.

In roughing out the design,
begin rounding the outer edges of the eagle’s head. You can use either a
woodcarving gouge or when working with a soft wood, such as cedar, try using a
mini angle grinder, such as an Arbortech, with a sanding disk.

Below is a picture of the
carving roughed out showing both eagles. When carving any design, the trick is
to make both sides look the same. Patience is the key to success, whether you
are using hand tools or power tools.

To layout the copy I first
applied yellow paint mask to the sign board. After transferring the design, I
marked the centers of each letter with dashes as shown below. The carving the
letters, the first step is to carve a V-groove where the dashes are drawn using
a V-parting gouge or a chip carving knife. A chip carving knife is great for
soft woods such as Western Red Cedar. Stick with a V-parting gouge, if you are
carving any of the harder woods, such as mahogany.

Then using a #2 gouge, I carve
from the edge of the letter to the V-groove. For curved letters I will use
either a #4 gouge. Since I will be gilding the letters, I try to keep my cuts
shallow. Gilded letters will reflect more light and be more visible if incised
letters are shallow versus deeply cut letters.

 |
| Gilded letters reflect more light, if incised letters are shallow. |
After
completing the carving, I primed both sides of the board with two coats of Zinsser’s
Bulls Eye 1-2-3 water based primer. This is a great primer for wood or HDU because it penetrates
into the pores of the wood surface which contributes to its excellent
anchorage. This primer also
bonds well to HDU carvings and fills in the rough texture providing a smooth
surface for finish coats. ZinsserBulls Eye 1-2-3 also blocks tannins in the wood from bleeding through. Whether you are painting with sign enamels or latex paints, this
primer serves as an excellent base coat. Plus, it dries fast, which speeds up
production.
Sanding between coats of primer and paint will
ensure a smoother finish, but more importantly will ensure intercoat adhesion.
After sanding, lightly wipe the surface down with a tack rag to remove the
sanding dust. As an alternative you can also wipe the sanded surface with a
clean lint free cotton cloth moistened with isopropyl alcohol.
 |
| Tannins are chemicals which naturally occur in many plants. High levels of these chemicals are found in conifers, such as pine and cedar trees. Thousands of years ago our ancestors discovered that they could use these tannins to “tan” animal hides. The problem with painting woods with a high tannin content is that they can leach out of the wood and discolor our paint job. Two coats of Zinsser Bulls Eye 1-2-3 helps control tannin bleed. |
In decorating the eagle heads, I simply painted two coats of the
basic local colors. I mixed Imitation
Gold, Chrome Yellow and Ivory for the beak and eye and an off white mixture for
the feathers. “Local color” is the natural
color of an object. This base color is modified to create highlights or
shadows. For the highlights, I added Lemon Yellow to the mixture. For darker
tones on the beak I mixed in Vermillion.
 |
| To paint the beak, I mixed up paint to match the local color of the beak. This would be the base color from which I would either lighten or darken to match the tonal values that I needed. Be sure to mix plenty of paint in case you need to do any repainting or touch up. |
There are a number of ways to gild the
letters. The traditional method is to use 23 karat gold leaf. If cost is a consideration,
you can also gild with metal leaf. Regardless of what you gild with, I recommend
using Charbonnel Le Franc 12-hour gold
size as an adherent. The product is consistently good and has a much longer
open time than competitive products – up to 36 hours. This gives you plenty of
time to work. You can apply the size at the end of one work day. The next day,
you can start laying leaf first thing in the morning. If you are interrupted
from your job, it’s no problem. If you haven’t used this product before, it is
worth a try.
One of the best brushes for applying gold size
is "The David Hightower Fitch" by the Andrew Mack & Son Brush
Company. This white hog bristle fitch has much shorter hair length than their
standard fitch brush. With its shorter length, the hairs are stiffer, and
consequently do a better job of getting the size into any tight corners of the
incised letters.
For good adhesion of the gold leaf, you only need to apply a
light coat of size. Using a stiff fitch brush will mop up any excess size that
accumulates in the bottoms of the carved letters. If you allow the size to
puddle, that can be a problem, because you can drown the gold leaf.
One of the most effective fastening devices for hanging a sign
flush against a wall is the Z-Clip (also called a Z-Hanger). Z-Clips consist of
two aluminum extrusions that slip neatly together. After the clips are screwed
into the wall and the sign, the signface is simply lifted into place so that
the clip on the sign drops into the channel or track of the clip on the wall.
Here is the link to my story about flush mounting a sign with Z-Clips.
Here is the link to my story about flush mounting a sign with Z-Clips.
NOTE: You can order Z-Clips from Orange Aluminum:
I always try to keep my mind open for new ways
to accomplish a task and new products. You just need to be willing to put these
ideas and products to the test. As one old sign man told me, if it works for
you, continue to do it. If it doesn’t try something else. You can’t argue with
advice like that!
 |
| Another alternative is to paint the copy gold. Butch “Superfrog” Anton introduced me to the Ronan Aqua Leaf paints several years ago. The “Real Gold” color actually looks like real gold leaf from a distance. Even up close it looks convincing. I have used it many times. Most recently, I used it on the carving pictured above. |
RELATED ARTICLES
Using a Mini Angle Grinder for Woodcarving
Woodcarving Tool Care
Thinning Paste Wax for Easier Application
Applying a Wiping Varnish to Your Carving
Using Epoxy Clay to Correct Woodcarving Mistakes
Safety Rules for Angle Grinders
Lowering the Cutting Angle of Woodcarving Gouges
Undercutting to Create Drama in Relief Carving
Woodcarving Tool Care
Thinning Paste Wax for Easier Application
Applying a Wiping Varnish to Your Carving
Using Epoxy Clay to Correct Woodcarving Mistakes
Safety Rules for Angle Grinders
Lowering the Cutting Angle of Woodcarving Gouges
Undercutting to Create Drama in Relief Carving

About Jim Hingst: After fourteen years as Business Development Manager at RTape, Jim Hingst retired. He was involved in many facets of the company’s business, including marketing, sales, product development and technical service.
Hingst began his career 42 years ago in the graphic arts field creating and producing advertising and promotional materials for a large test equipment manufacturer. Working for offset printers, large format screen printers, vinyl film manufacturers, and application tape companies, his experience included estimating, production planning, purchasing and production art, as well as sales and marketing. In his capacity as a salesman, Hingst was recognized with numerous sales achievement awards.
Drawing on his experience in production and as graphics installation subcontractor, Hingst provided the industry with practical advice, publishing more than 150 articles for publications, such as Signs Canada, SignCraft, Signs of the Times, Screen Printing, Sign and Digital Graphics and Sign Builder Illustrated. He also posted more than 400 stories on his blog (hingstssignpost.blogspot.com). In 2007 Hingst’s book, Vinyl Sign Techniques, was published. Vinyl Sign Techniques is available at sign supply distributors and at Amazon.
Thanks for share your blog here .
ReplyDeleteled happy birthday sign